Pednekar Titration Protocol for CBLS Wetlab
Standard Protocol Procedure for Using the Putnam Lab Titrator
Created By: Silbiger Lab - 20190227
Last Revised: Putnam Lab - DM Becker - 20211005
Added notes for personal use: Pooja Pednekar - 20250710
A detailed training video for this protocol can be found here. It will ask you to request access form a member of the Putnam Lab.
To plan your titrations, keep in mind that the setup (i.e. purging the HCl, pH calibration, and running a CRM) takes ~45 minutes to 1 hour. While running a total of nine samples (i.e. the full amount of samples available on this specific rondolino) or one titration run takes ~1 hour and 45 minutes. With about ~15 - 20 minutes of clean up and waste disposal.
Make sure to take your time for each step of the titration process to ensure accuracy and precision of measurements. While this protocol is tedious, all steps and specifications are necessary to ensure confident titration measurements.
Contents:
- Materials
- Pre-Setup
- Setup
- pH_Calibration
- Running_a_titration
- CRM_Titration
- SAMPLE_Titration
- Measure_Salinity
- Data_Analysis
- Using GitHub on Windows Computer
- Clean_Up
- Waste_Processing
- Mettler Toledo Rondolino -Material No.: 51108500
- Mettler Toledo Titrator Excellence T5 - Material Number 30252672
- Mettler Toledo Analytical Balance
- Mettler Toledo LabX Laboratory Software (connects titrator, balance, burettes, etc.)
- Mettler Toledo Compact Stirrer - Material No.: 51109150
- Mettler Toledo pH electrode
- Mettler Toledo InLab Solutions KCl 3 mol/L solution (for titrator pH electrode)
- Thermo Scientific Orion Star A221 and Star A321 Portable pH Meter
- Nitrile gloves
- Kimwipes
- 250 mL glass beaker
- 80 mL tall plastic beakers (titrator cups)
- 10 mL CELLSTAR serological pipette
- Scienceware 25mL pipette holder
- Computer capatible with LabX program
- Orion application solution pH buffers (4.01, 7.00 and 10.01)
- 3 NALGENE 250 mL centrifuge bottles
- Type I DI water
- Filtered seawater (for junk samples)
- Two designated waste bottles
- Certified Reference Material (CRM) from the Dickson Lab (standards)
- Orion application solutions for two-point conductivity calibration (TDS standard: 12.9 mS/cm and 1413 μS/cm)
- Drying mats
- RStudio software
- Dickson Lab HCl 0.1 N
- Pre-Setup
- Since you are working with acid. You must wear a Lab Coat and Examination Gloves always, before starting the experiment. Safety Goggles is optional. No food or drink.
- Do not remove or move materials from the lab bench or between rooms. The PPP lab is specifically set-up for safety and efficiency.
-
- Turn on Titrator, Inmotion Pro Autosampler, and Laptop. a. To turn on the Titrator, press the Power Button in the front of the machine (far upper-right corner). b. To turn on the Autosampler, push on the Power switch in the back of the machine (black switch). c. Connect the Titrator cord to the Laptop (white cord).
- Using the laptop, create a new folder within the general data folder [C: This PC > Users > PPP Lab > Documents > Titratior > Data > Blue Tank Titrations]. Name: date_description in yyyymmdd format. Example: 20180602MooreaSamples28 *(That is your folder of the day.)* You can also copy paste the folder from last time and rename it and delete the files especially the one with “yyyymmdd_CBLS”.
- The folder must be named something appropriate for the samples being processed (for example, MooreaSamples28 would be all the Moorea data for 28 degrees) within the Data Folder. (That is your folder of the day.)
- Open Excel, LabX and RStudio (R)
- Minimize Excel and R to reduce clutter.
- Using LabX, modify the Server Export Directory so that the files export to your folder of the day. To do so, go to System (Bottom Left) > At the System’s tab, click “Import and Export” then “Export Templates” > Select “Export Template” and search for the “Edit Export Template” icon in the upper left. Click the Settings tab then edit the Export File Name and Export Directory.The Export File Name should start with yyyymmdd_CBLS_.
- On the “Server Export Directory,” that is where your data is going. You can modify it by clicking on “Edit Export Template” and navigate to the folder of the day. Select “Save and Close” in the upper left hand corner and exit this window. You will now see your export path in the export templates section of LabX.
- There should already be an empty 80ml cup in position 00.
- If not, raise the Rondolino by pressing the left blue button “Rotate 180 degrees” (with no numbered tick marks). Press the same button to return the Rondolino to position 00.
- Remove the temperature probe from its slot and set it to the side while you purge the HCl.
- Make sure you note the usage in the Titrator Log book location near the window bar.
-
- PURGING (RINSING): Using the Titrator tablet, tap “Manual”, “Burette”, “Rinse”. Set Titrant: HCl, Concentration: 0.1 mol/L, Drive: 1, Cycles: 3, Discharge volume: 100%, Fill rate: 100%. See notes below before pressing “Start”.
- YOU MUST PARK THE AUTOSAMPLER FIRST (AT POSITION 00), OTHERWISE THE ACID WILL SPILL ALL OVER THE AUTOSAMPLER.
- If it ever occurs, you must use the chemical wipes with DI water to soak up the acid.
- Note: Rinse is used to purge any air bubbles that may occur in the acid line. If there are more air bubbles, tap the tubes until they disappear. DO NOT start titrations if there are still bubbles, this will affect the amount of acid the titrator gives the sample. Additonally if the bubbles persists during running the samples, re purge the acid after the sample run and redo the samples again.
- After Purging/Rinsing, click “OK” to bring the titrator screen back to home.
- If you still see bubbles in the lines, redo the purging step!
- Recycle (pour back) the acid into the glass bottle that is connected to the titrator by removing the small white plug and pour carefully into the bottle. a. If a spill occurs, you must use the chemical wipes with DI water to soak up the acid.
- Using DI water, clean the acid cup. Leave upside down on Kim Wipe to dry.
- Note: Before calibrations can be made
- Place the temperature probe back in its original slot before next steps.
- Located at the right side, at the back of the Titrator, there will be a pH Sensor. Place the sensor in the position marked with a black arrow, next to the propeller.
- Open the grey cap on the pH sensor and leave open throughout use. pH will not be measured otherwise.
- Look at the top of the Sensor for KCl, make sure the KCl is filled to fully cover the metal inside by the grey cap, skip to [18]. If not, follow the step below.
- If KCl reservoir is low, open the cap on the sensor’s reservoir and add a few drops of KCl on the opening.
- Make sure that the cap is open at all times, so it can measure the pH.
- Make sure the probe rinse reservoir is filled with KCl solution (a plastic tube on the right side of the InMotion Pro).
- Once the pH probe is placed in its slot next to the propeller, fill a DI Only cup 2/3 full with DI water and place this cup in poistion 00. On the Titrator screen, “Park” the autosampler. The pH probe should always be submerged in a liquid (DI or its storage solution).
- pH_Calibration
Things to check and know about the pH probe to ensure proper handling, usage, and storage:
- The reference KCl electrolyte solution should be replaced in the glass electrode reservoir ~every month.
- Always check to make sure the pH probe is in KCl electrolyte solution in its holding tube when stored and the internal buffer solution (3) is covering the inside of the glass membrane (1). If you see bubbles in the membrane, gently shake the probe in a vertical direction.

- Also always check if the reference electrolyte (6) is filled to the aperature (8).
- The zero point of the electrode (pH value E = 0 mV) is approximately pH 7. The electrode potential, measured in a buffer solution of pH 7, must be within -30 mV and +30 mV.
- The electrode slope (potential change per pH unit) at the pH range 4-9 must be greater than -55 mV/pH (at 25°C).
-
The zero point should be within pH 6 and 8, the slope not less than -52 mV/pH, and the potential change after 60s should not exceed 3 mV/30s.
- Use the three 80ml cups labeled “pH 4.0”, “pH 7.0”, and “pH 10.0”. Add the appropriate pH buffer to each of the cups until filled halfway. Or the amount kept in the 50 mL tube. Note: Every week pour new pH solution into each 50 mL tube from the original bottle (2nd shelf on the right next to the Certified Reference Material). Mark date in the pH_calibration.csv file.
- If a new buffer bottle is opened, write the date opened, your initials, and your lab on the bottle (ex: Opened 20180602 ES (Putnam)).
- Place the three cups in the Autosampler: Position 01 - pH 4.0, Position 02 - pH 7.0, Position 03 - pH 10.0.
- Place a 80 mL cup filled halfway with DI water into Position 00.
- Using LabX, click “Analysis” on the bottom left-hand side then look for the Released Methods and click on “Calibration”, in the calibration method editor, make sure you select which export template you would like the output plot to go to. This is found in the export templates section on the right hand side of this window. Select “Save and Close” after making your selection.
- Click Start > Titrator > Start to start the Calibration.
- You can either Right click on the Calibration group or look for the tab named “Recurrence” (It’s on top of the Released Methods) and click Start.
- Viewing from the Titrator window (select “Show Workbench” if it does not pop up after ~30 seconds), watch the graph for any anomalies.
- Anomalies such as the graph jumping constantly.
- Unless the zoom scale of the graph in the y-axis is at 0.1, small zig-zags are acceptable, but any change >0.1 units over time means that the calibration should be re-done with new buffers.
- Once finished, the graph should be a Flat Line for individual samples or a downward graph if all three points are displayed.
- If the results are not as described in step [9], replace buffers and redo steps again.
- Using Excel, open the “pH_Calibration.csv” file, [C: This PC > Users > PPP Lab > Documents > Titratior > Data].
- Record the Date, Zero Point, Slope, pH 4, pH 7, pH 10, and Notes into the “pH_calibration.csv” file
- The Notes are used to determine the age of the buffer.
- To gather Zero Point and Slope, go to LabX > Click Data > look for “Result Sets” on the Data Tab bar (Top Left) > Click “Last 24 hours” > Double click on the “Calibration data set” > select the “Raw Data” tab > scroll down to the “after sample scopes” > Record the data for slope and zero point onto the Excel spreadsheet.
- As an alternative: Go to the Titrator tablet and if the tablet displays that the Calibration is done, press OK to view the Zero Point and Slope.
- To gather data for each pH, click the Raw Data tab from the same Calibration Results Set.
- Look for the “E” (mV) value for each pH, and record the “E” values on the spreadsheet.
- Note: The results should be displayed in order from pH of 4, 7, then 10 as you scroll down in the raw data results page.
- Once the calibrations are complete, remove the cups from the Autosampler and dispose them into the into a plastic reagent bottle, respective of their pH and seal the tubes with parafilm located on the bench.
- If the pH buffers need replacing, dispose of the buffers by pouring 4 and 10 down the sink simultaneously while running the faucet. Then pour the 7 buffer. Rince the pH buffer cups with water and hang them on the rack to dry.
- Input the data from your notebook into the pH_calibration csv with respective values obtained after calibration.
- Save CSV document and set the destination to the “Data” Folder.
General notes from observations: The pH 7.0 shows EST closer to 0.00. That doesn’t mean that it hasn’t calibrated properly. As far your curves/graphs look good (without NOT OKAY), it is all good to run the samples. If the calibrations for any pH came out to be NOT OKAY then refresh the buffer and do the calibrations again.
-
- You should start each day by running a Certified Reference Material (CRM) from the Dickson Lab. These are the standards. The procedure for running any titration, whether a CRM or unknowns are as follows. It is also advisable to start with a “junk” sample (filtered seawater that you don’t care about) at the beginning of each run to ensure there are no air bubbles in the acid line.
- On the LabX window, similarly to calibration, click on Putnam Lab Titrations > Start > Titration
- In the Putnam Lab Titrations method editor, make sure you select which export template you would like the output data to go to. This is found in the export templates section on the right hand side of this window. Select “Save and Close” after making your selection.
- A window should pop up. Depending on the number of the sample measured, click on “Number of Samples” then apply the specific number of samples used in the titration, then press enter on the keyboard.
- On the left, look for the “ID 1” column and label the sample. Put in all your sample IDs into this column. 1. Label ID Ex: “20210218_JUNK1”
- Next to the “ID 1” column, there should be a column named “Weight [g].”
- Click on the first row and then proceed to the analytical balance.
- Weigh the sample from the Analytical Balance.
- See “Protocol Procedure for Using the Balance”
- In this step, carefully add the sample into the 80ml cup until the scale reads 60g ± .5g or instructed otherwise.
- Use a serological pipette for the CRM sample only until the weight reaches 60g ± .5g or instructed otherwise.(PROCEED WITH EXTREME CAUTION!)
- For other samples use a beaker to pour in the sample.
- If any spillage ever occurs, Report it immediately. Don’t attempt to clean it yourself. All poisoned samples and CRM’s contain HgCl2.
- Record all sample IDs and corresponding weights in your notebook before you report them and set the weight manually into the “Weight [g]” column in the LabX program.
- Place the measured cups in the Autosampler, starting from position 1, then position 2, 3, etc. If more than one samples are used.
- Begin Titration
- After the data are set into the system, and all cups are placed in their slots in the autosampler, press Start on the bottom right of the “Task Editor” window.
- Once started, each titration will take ~10.5 minutes, unless there is a change of the method from the instructor.
General notes from observations: Make sure to remove any bubbles from the walls as well as in the container before weighing. In addition, the lids of the weighing scale should be closed from all sides during taking the weight of the sample.
-
- Run step 5, but use a junk and CRM sample only. Find the TA and salinity information for your specific CRM batch number here
- Skip to Data_Analysis to calculate total alkalinity of the CRM. Then check the accuracy of the data.
- In every CRM Titration, it is necessary to report the accuracy in the “CRM_AccuracyData” file to test the accuracy. If must never be more than 1% off. Accuracy must be tested before running any samples for the day.
- While the CRM is run, you can go and collect samples from the Blue tanks. General notes from observations: Make sure you take the dKH the same time when you collect the samples from blue tanks 1,2,3 and 4.
——–NEVER PROCEED BEYOND THIS STEP UNTIL THE CALCULATED CRM IS ONLY OFF BY <1% OF THE REPORTED CRM CERTIFICATE————
-
- Repeat step [5]. However, in step [5.4], replace to [the sample name given on the sample bottle].
- Do a Junk 2 after DI apart from the other samples.
-
- While the samples are running on the titrator, you will measure salinity of each sample from the original sample vial.
- Calibrate the conductivity meter (Orion Star) using a 2 point conductivity calibration.
- Measure the salinity of every sample and write down the value in the csv file you will make below. For CRMs, the salinity corresponds to its batch number, for junks just use salinity of 35.
-
- After the titration is complete, you must gather the data and export it to the current folder. Make a file called “Mass_date” Ex: Mass_20210221 in your folder of the day that includes “Sample ID1”, “Weight”, and “Salinity”. fill in your corresponding label IDs, weights, and salinities into this file. Keep all labeling consistent from titration to analysis
- Open RStudio.
- Open the R script named Total_Alkalinity_wParsing.R, scroll down to find “setwd”, “path” , “massfile”, “TitratorFiles” and “Date”
- Modify “date” to the current day.
- Modify “path” to the name of the folder of the day from step [2.ii] (Case Sensitive) and change “setwd” to “C:/Users/PPP Lab/Documents/Titrator/Data/folder of the day”
- “TitratorFiles” is the name of the .csv file with all the titrations that was automatically exported.
- Modify “massfile” to the name of the current file from step [8.i] (Case Sensitive)
- Click on Source to completely transfer the data
- A csv file will be automatically exported to the folder of the day with the calculated TA data. If this is a CRM run, here is where you will be the TA value of the CRM to enter it into the CRMAccuracyData file (see 5b).
- After the CRM run, edit the file names for Mass, the raw Titrator File, and the new TA file to include “CRM”.
- After each titration, the raw Titrator File and Mass File will overwrite the previous files in the folder if a new name is not given to the previous files.
- After each Source of the TotalAlkCalc_wParsing.R script, the new TA file will overwrite the previous file in the folder if a new name is not given to the previous file.
- For multiple titrations after the CRM run, use a label for these three files to distinguish between the multiple titrations.
-
- After completing titration for the day, you will need to push all your updated data to the GitHub Titrator repository.
- If you have never used GitHub or command line before, contact a lab manager or someone that has used it prior for instuctions.
- On windows, type in and open “Git Bash” in the search bar (this app allows you to push and pull data from your windows computer to GitHub).
- You must first configure your GitHub account witht the local computer and Git Bash app. To do so, Type in:
- git config –global user.email “you@example.com”
- git config –global user.name “Your Name”
- make sure these match identically to your GitHub profile information
- If it asks you for your password, enter it exactly as on your account
- If you have updated your account to include a personal access token, this is now YOUR PASSWORD
- This will open a seperate window. Type in: “cd Documents/” into the window. This will take you into the documents folder on the computer. Type in “ls” to see the contents of this folder.
- In the Documents folder you will see the Titrator folder.
- To go into the Titrator folder, Type in: “cd Titrator/” into the window. This will take you into the Titrator folder on the computer. Type in “ls” to see the contents of this folder.
- You will see a “Data”, “Protocols”, and “Scripts” folder within the Titrator folder. You can use the “cd” and “ls” commands to get into each folder and see the contents.
- If you have made any changes to any of these folders during your titrator runs for the day, make sure to push these changes to GitHub before you leave for the day.
- Before making any changes to the repository, always make sure to use the command “git pull”.
- This comman incorporates changes from a remote repository into the current branch. So if ny changes were made to the GitHub repository by another user, this ensures you have the most up to date repository.
- For any folders that you changed, type in: “git add folder_name” Ex: git add Data/ into the Git Bash app.
- The git add command updates the index using the current content found in the working tree, to prepare the content staged for the next commit.
- Next, you have to commit whatever new information you added. Type in: “git commit -a -m “explanation here”” Ex: git commit -a -m “added titrations for initial E5 testing on 20210221 dmb”
- The git commit command creates a new commit containing the current contents of the index and the given log message describing the changes.
- Finally, you have to push all of the added data to the GitHub repository. Type in: “git push” into the Git Bash app. - This command updates remote refs using local refs, while sending objects necessary to complete the given refs.
- After following these commands, make sure to login to your GitHub account on an internet browser and check that the changes have been made on the Putnam Lab Titrator Repository.
-
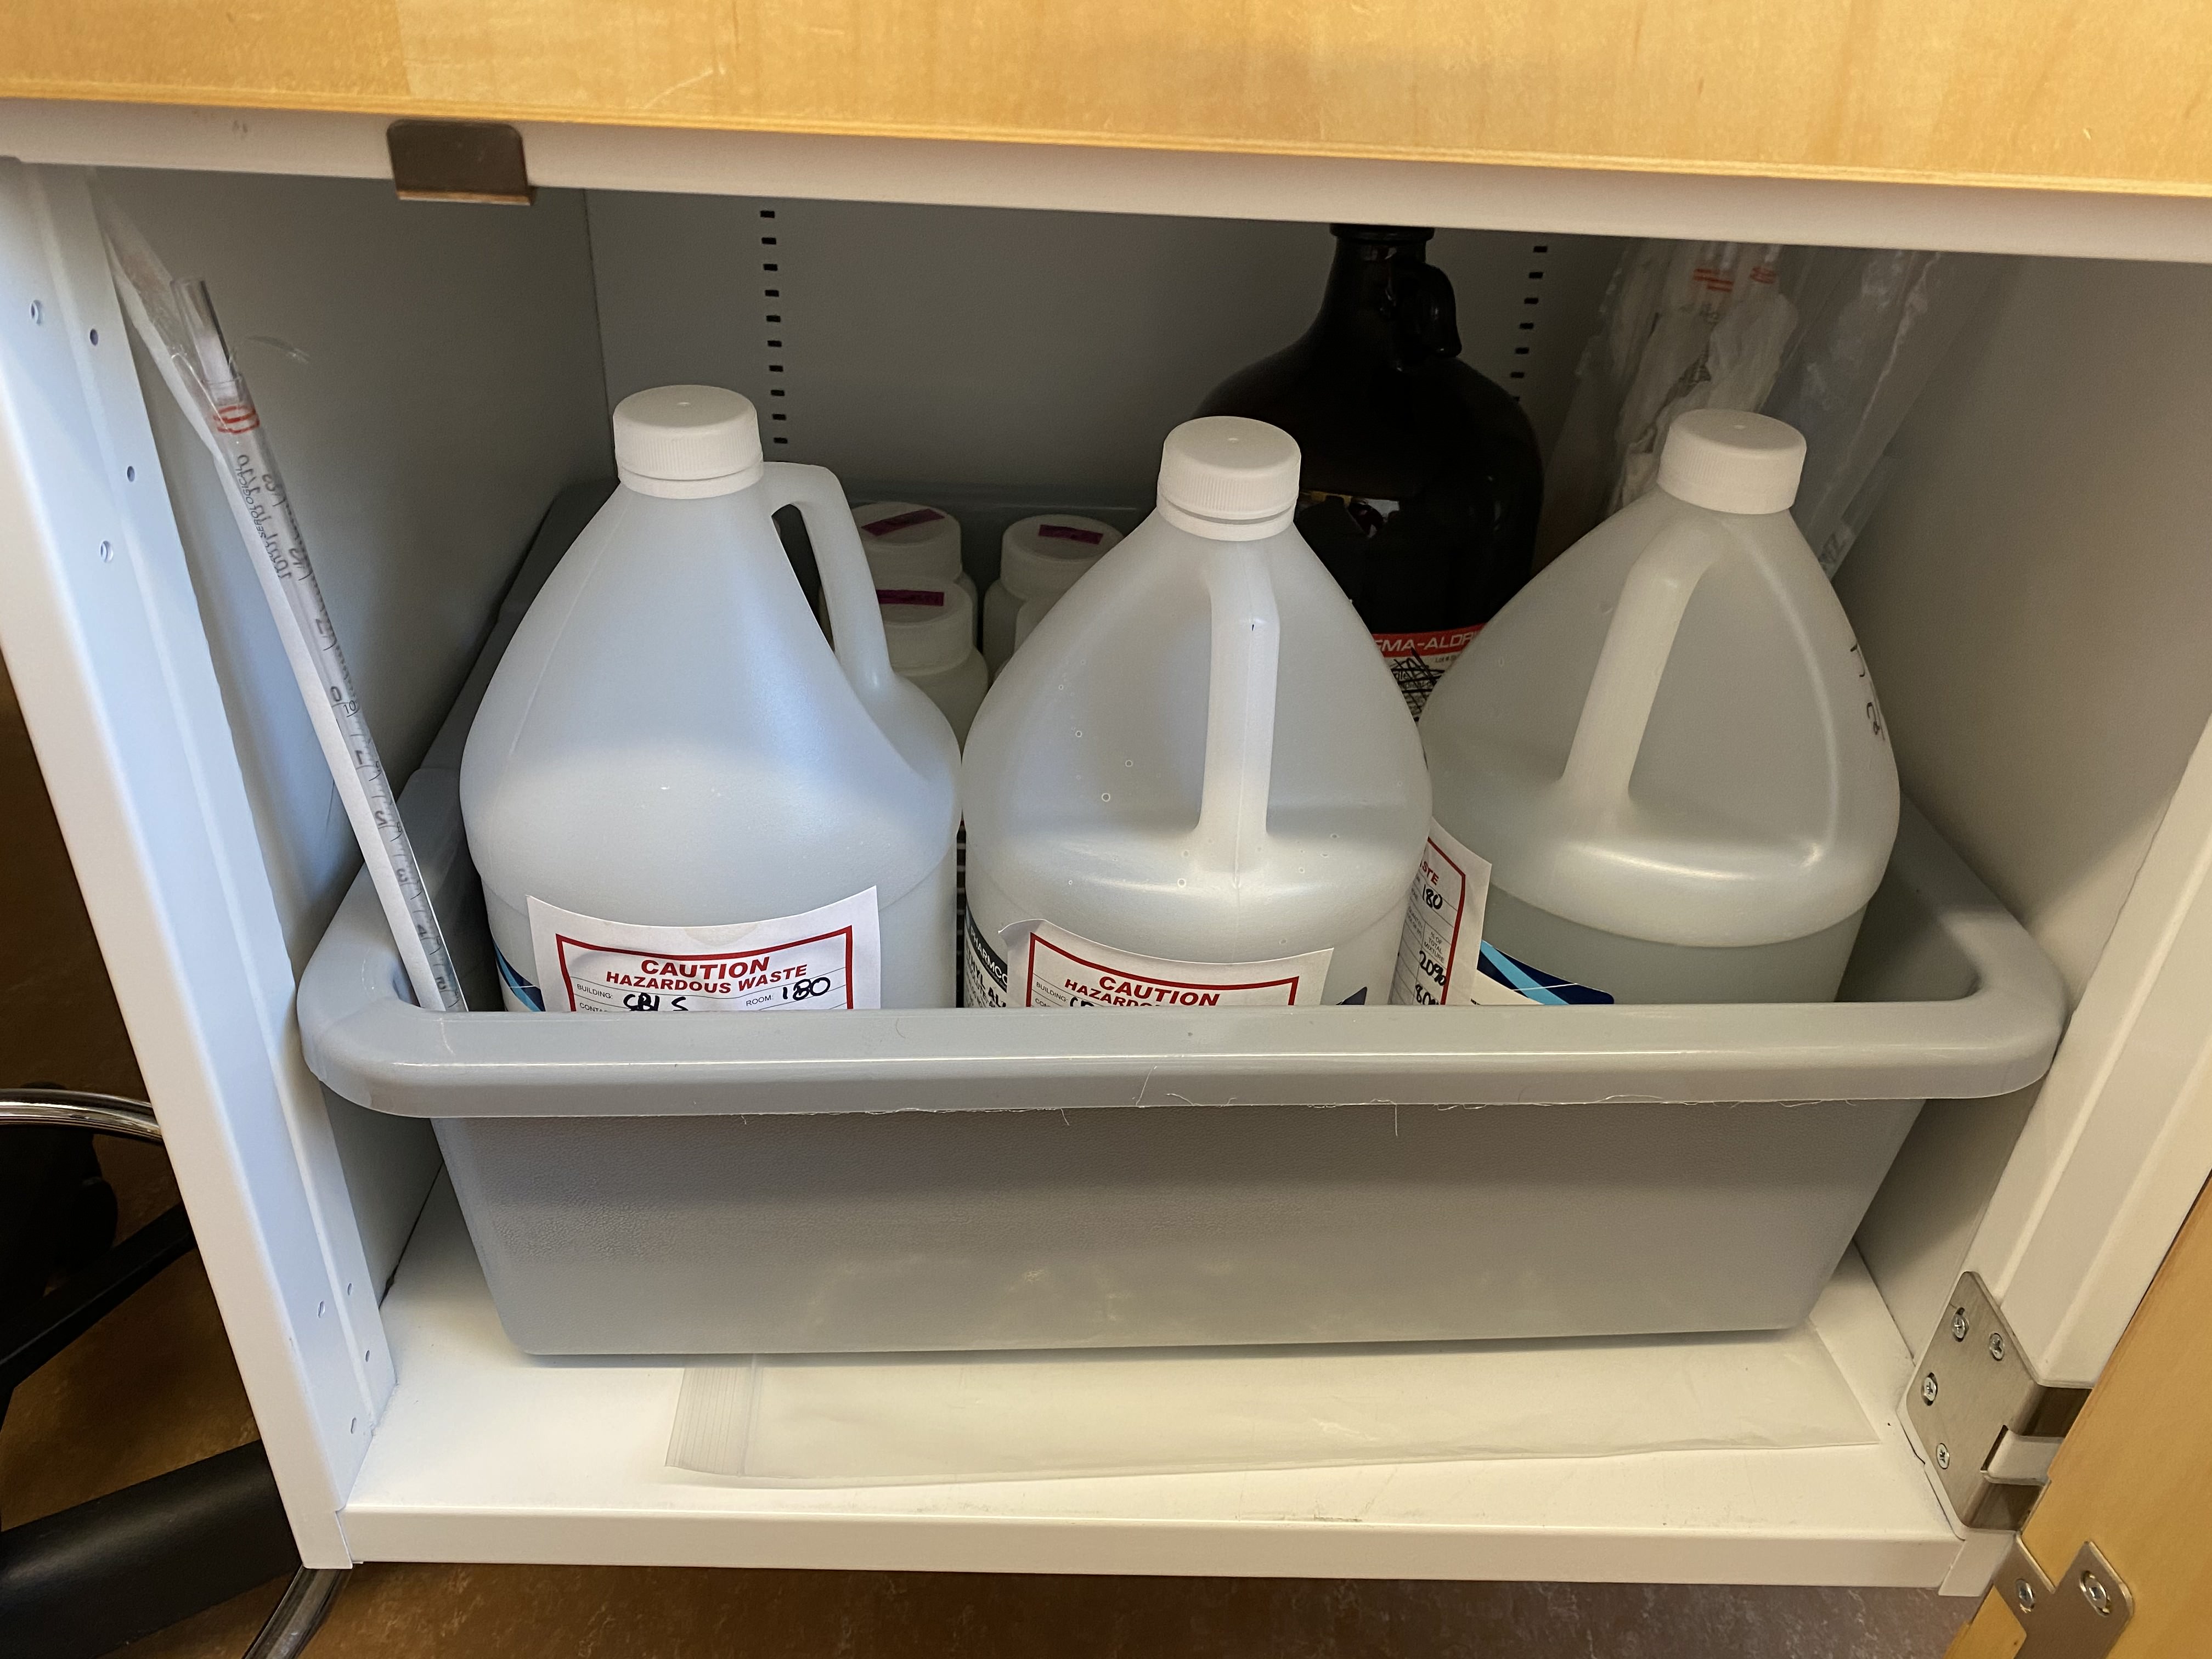
- When the titrations are complete, remove the cups from the Autosampler, and dispose the samples into their corresponding labeled waste containers in the cabinet to the left of the laptop and titrator table. [note: all CRMs and nearly all samples in this lab have HgCl2].
- Clean the cups using Type I DI water. Then, dry them on KimWipes and drying pads nect to the titrator
- Using the Titrator, move the Autosampler arm into position 00 (which should have a cup with DI water in it) by pressing Park on the tablet.
- Return the sensor of the autosampler to its holder on the left of the InMotion arm. Double-check that it holder is filled with KCl.
- Shut off both Titrator and Autosampler.
- To shut off the Autosampler, simply hold the power button at least 5 seconds.
- When you hear a beep, it’s notifying you that it’s ready to shut off, when you are ready release the button.
- To shut off the Titrator, use the tablet to make it offline then tap shut down.
- Wipe down Sample Changer carefully with DI water.
For details on waste processing and lab safety with waste, see this GitHub Post
1. Look in the SDS, protocol, manual, and containers for signs of corrosive, flammable, reactive, toxic, harmful to the environment, etc. **The SDS is the Safety Data Sheet**, available by googling the chemical, will tell you all the hazards of that chemical
2. For specifics on what hazards pertain to the chemical, look in the SDS
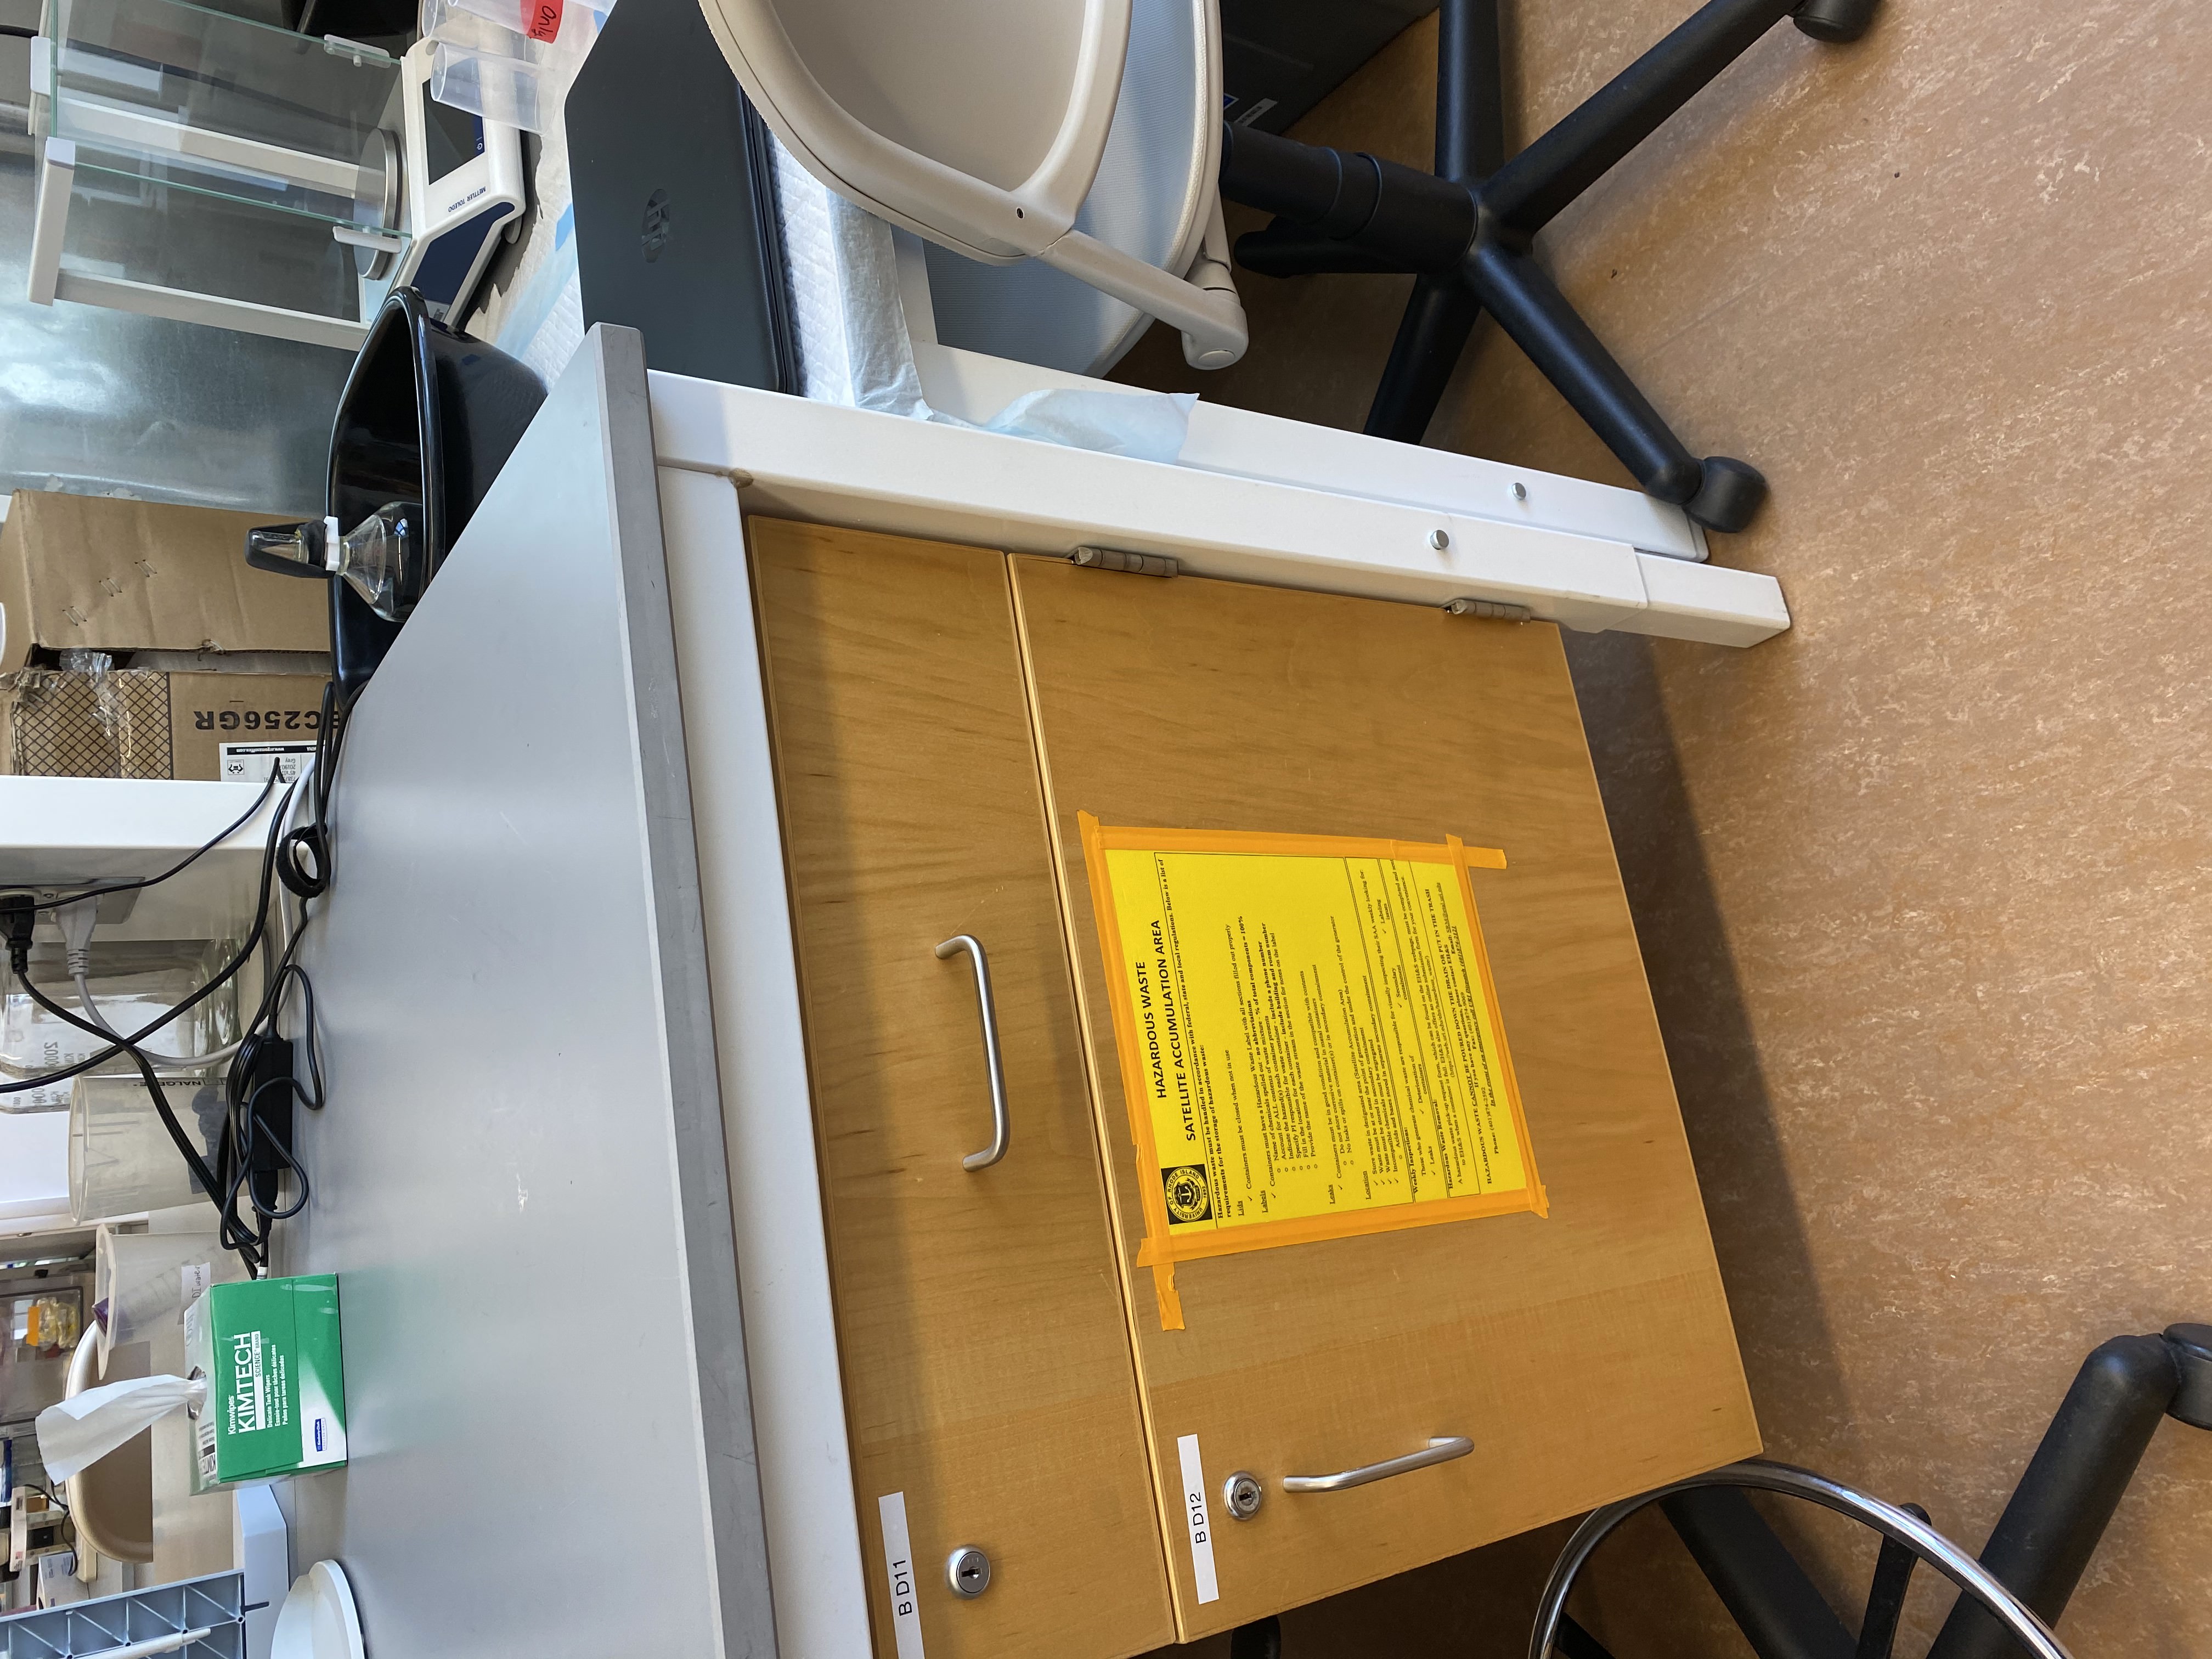
3. If your solutions have any of these, the waste should be treated as hazardous and disposed of in a SAA (satellite accumulation area)
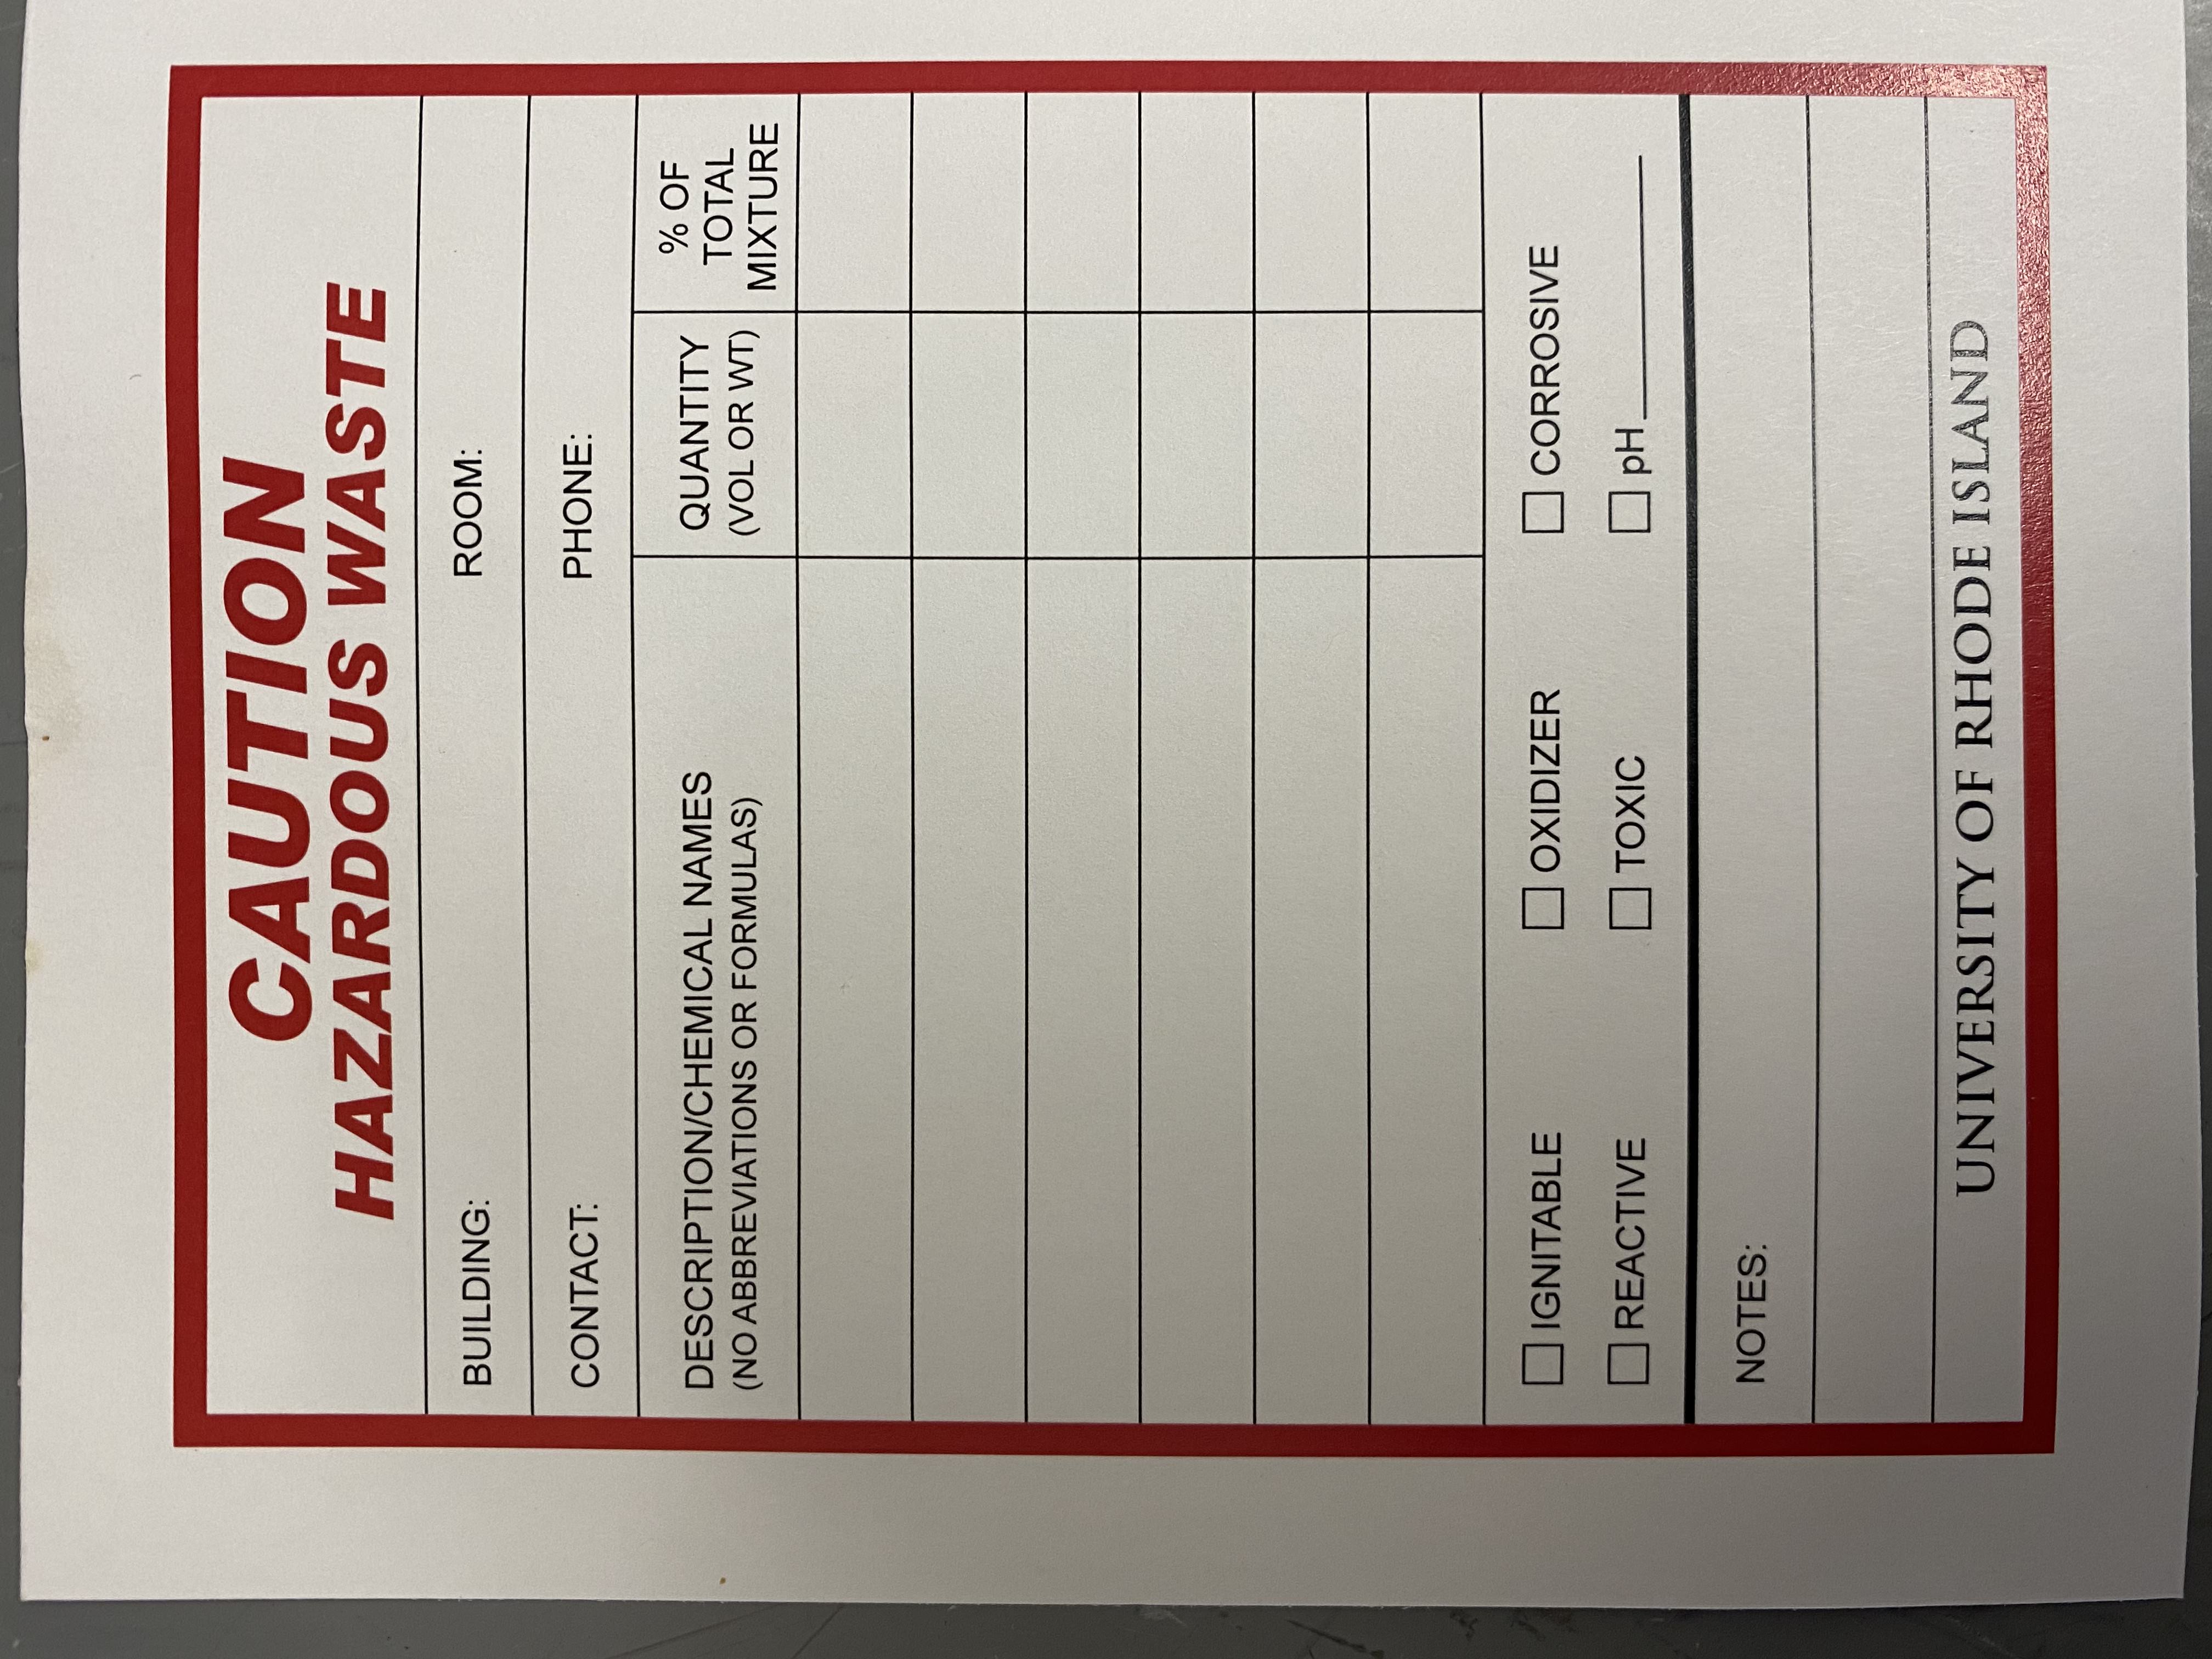
4. Make a hazardous waste label for the waste container, list **all** components of the liquid and approximate percentages of each one. Put your PIs name, room number (CBLS 190; SAA cabinet BD12), and check off all types of hazards present. Add notes if applicable (ie if waste is from a kit, put the name of the kit as a reference)
5. For the titrator, we have these type of waste labels you will need to make:
1. Mercuric chloride: 0.1%, seawater: 99.9%
2. Solid waste: Mercuric chloride: 0.1%, seawater: 99.9%
3. Seawater: 95%, HCl: 5%
4. KCl 100%
 6. When a waste container is full, to request for it to be picked up by EHS (Environmental Health and Safety) use this link. Make sure to list out all contents of the containers. Also make sure to request a new plastic bottle if needed and new waste container labels when they are running low.
7. The SAA next to the titrator is for titrator and aquarium room wastes.
6. When a waste container is full, to request for it to be picked up by EHS (Environmental Health and Safety) use this link. Make sure to list out all contents of the containers. Also make sure to request a new plastic bottle if needed and new waste container labels when they are running low.
7. The SAA next to the titrator is for titrator and aquarium room wastes.